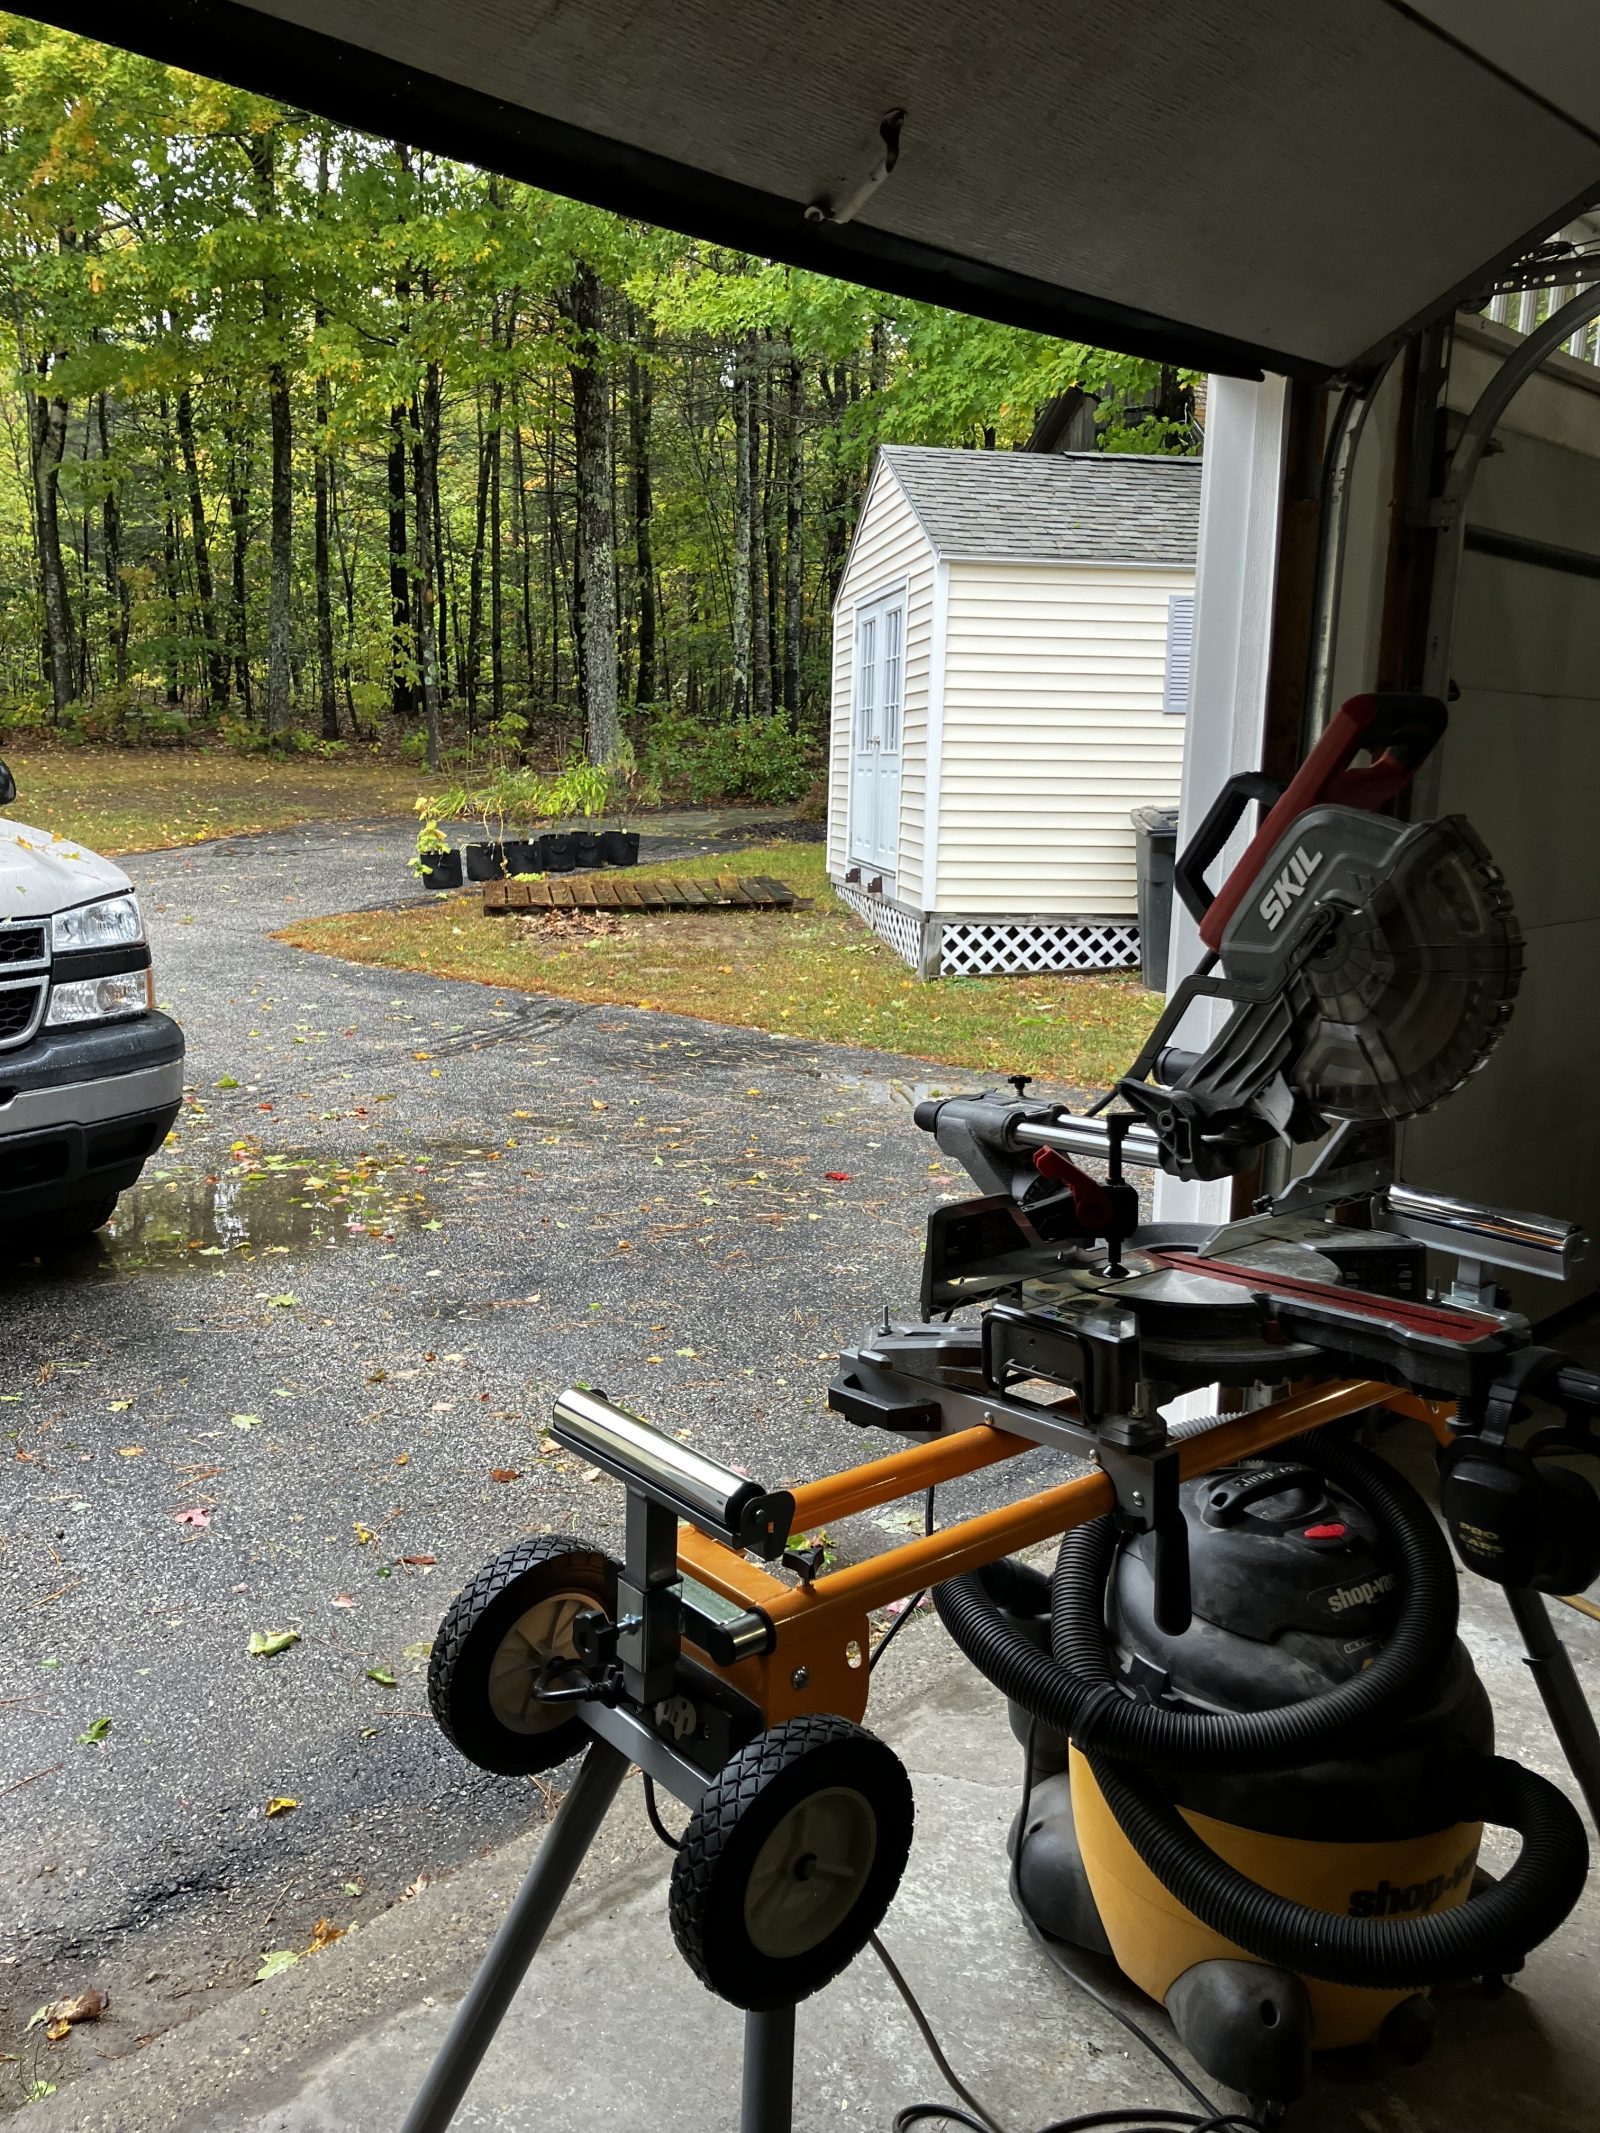
 This has been a very productive year for completing projects, but one still remained. There was a small incident this past spring when attempting to back the garden tractor out of the shed. Already a tenuous task thanks to a 48″ wide ramp and a 49″ tractor rear tract, but an Evel Knievel jumping the Snake River Canyon in reverse experience was one not expected. In the end, gravity interceded and the ground broke our fall and the ramp was set aside for further, future investigation. Then the future arrived, with autumn closing in. I love that song.
In reviewing the original design, which was done in my head as a place with lots of clear skies and excess room, I noticed several structural missteps. The brackets that replaced the need for an additional ledger board were stout. One quarter inch steel, the product of plasma cutting experiments, and three 1/2″ bolts mounting the brackets to the shed and one 1/2″ bolt attaching the frame to the brackets.
The ramp frame was comprised of two seven foot rails fashioned from repurposed 2″x4″s mounted thirty-six inches apart. Their original purpose was to lay out in the scrap pile collecting fallen leaves. The frame lacked cross bracing, had no blocking and was weakened by several generations of nail and deck screw holes. The rails were joined and covered with 5/4 spruce decking. Highly flexible and slope compliant, the original ramp was perfect for a designer with no desire to confront the intricacies of geometry.
The new deal. A new angle…
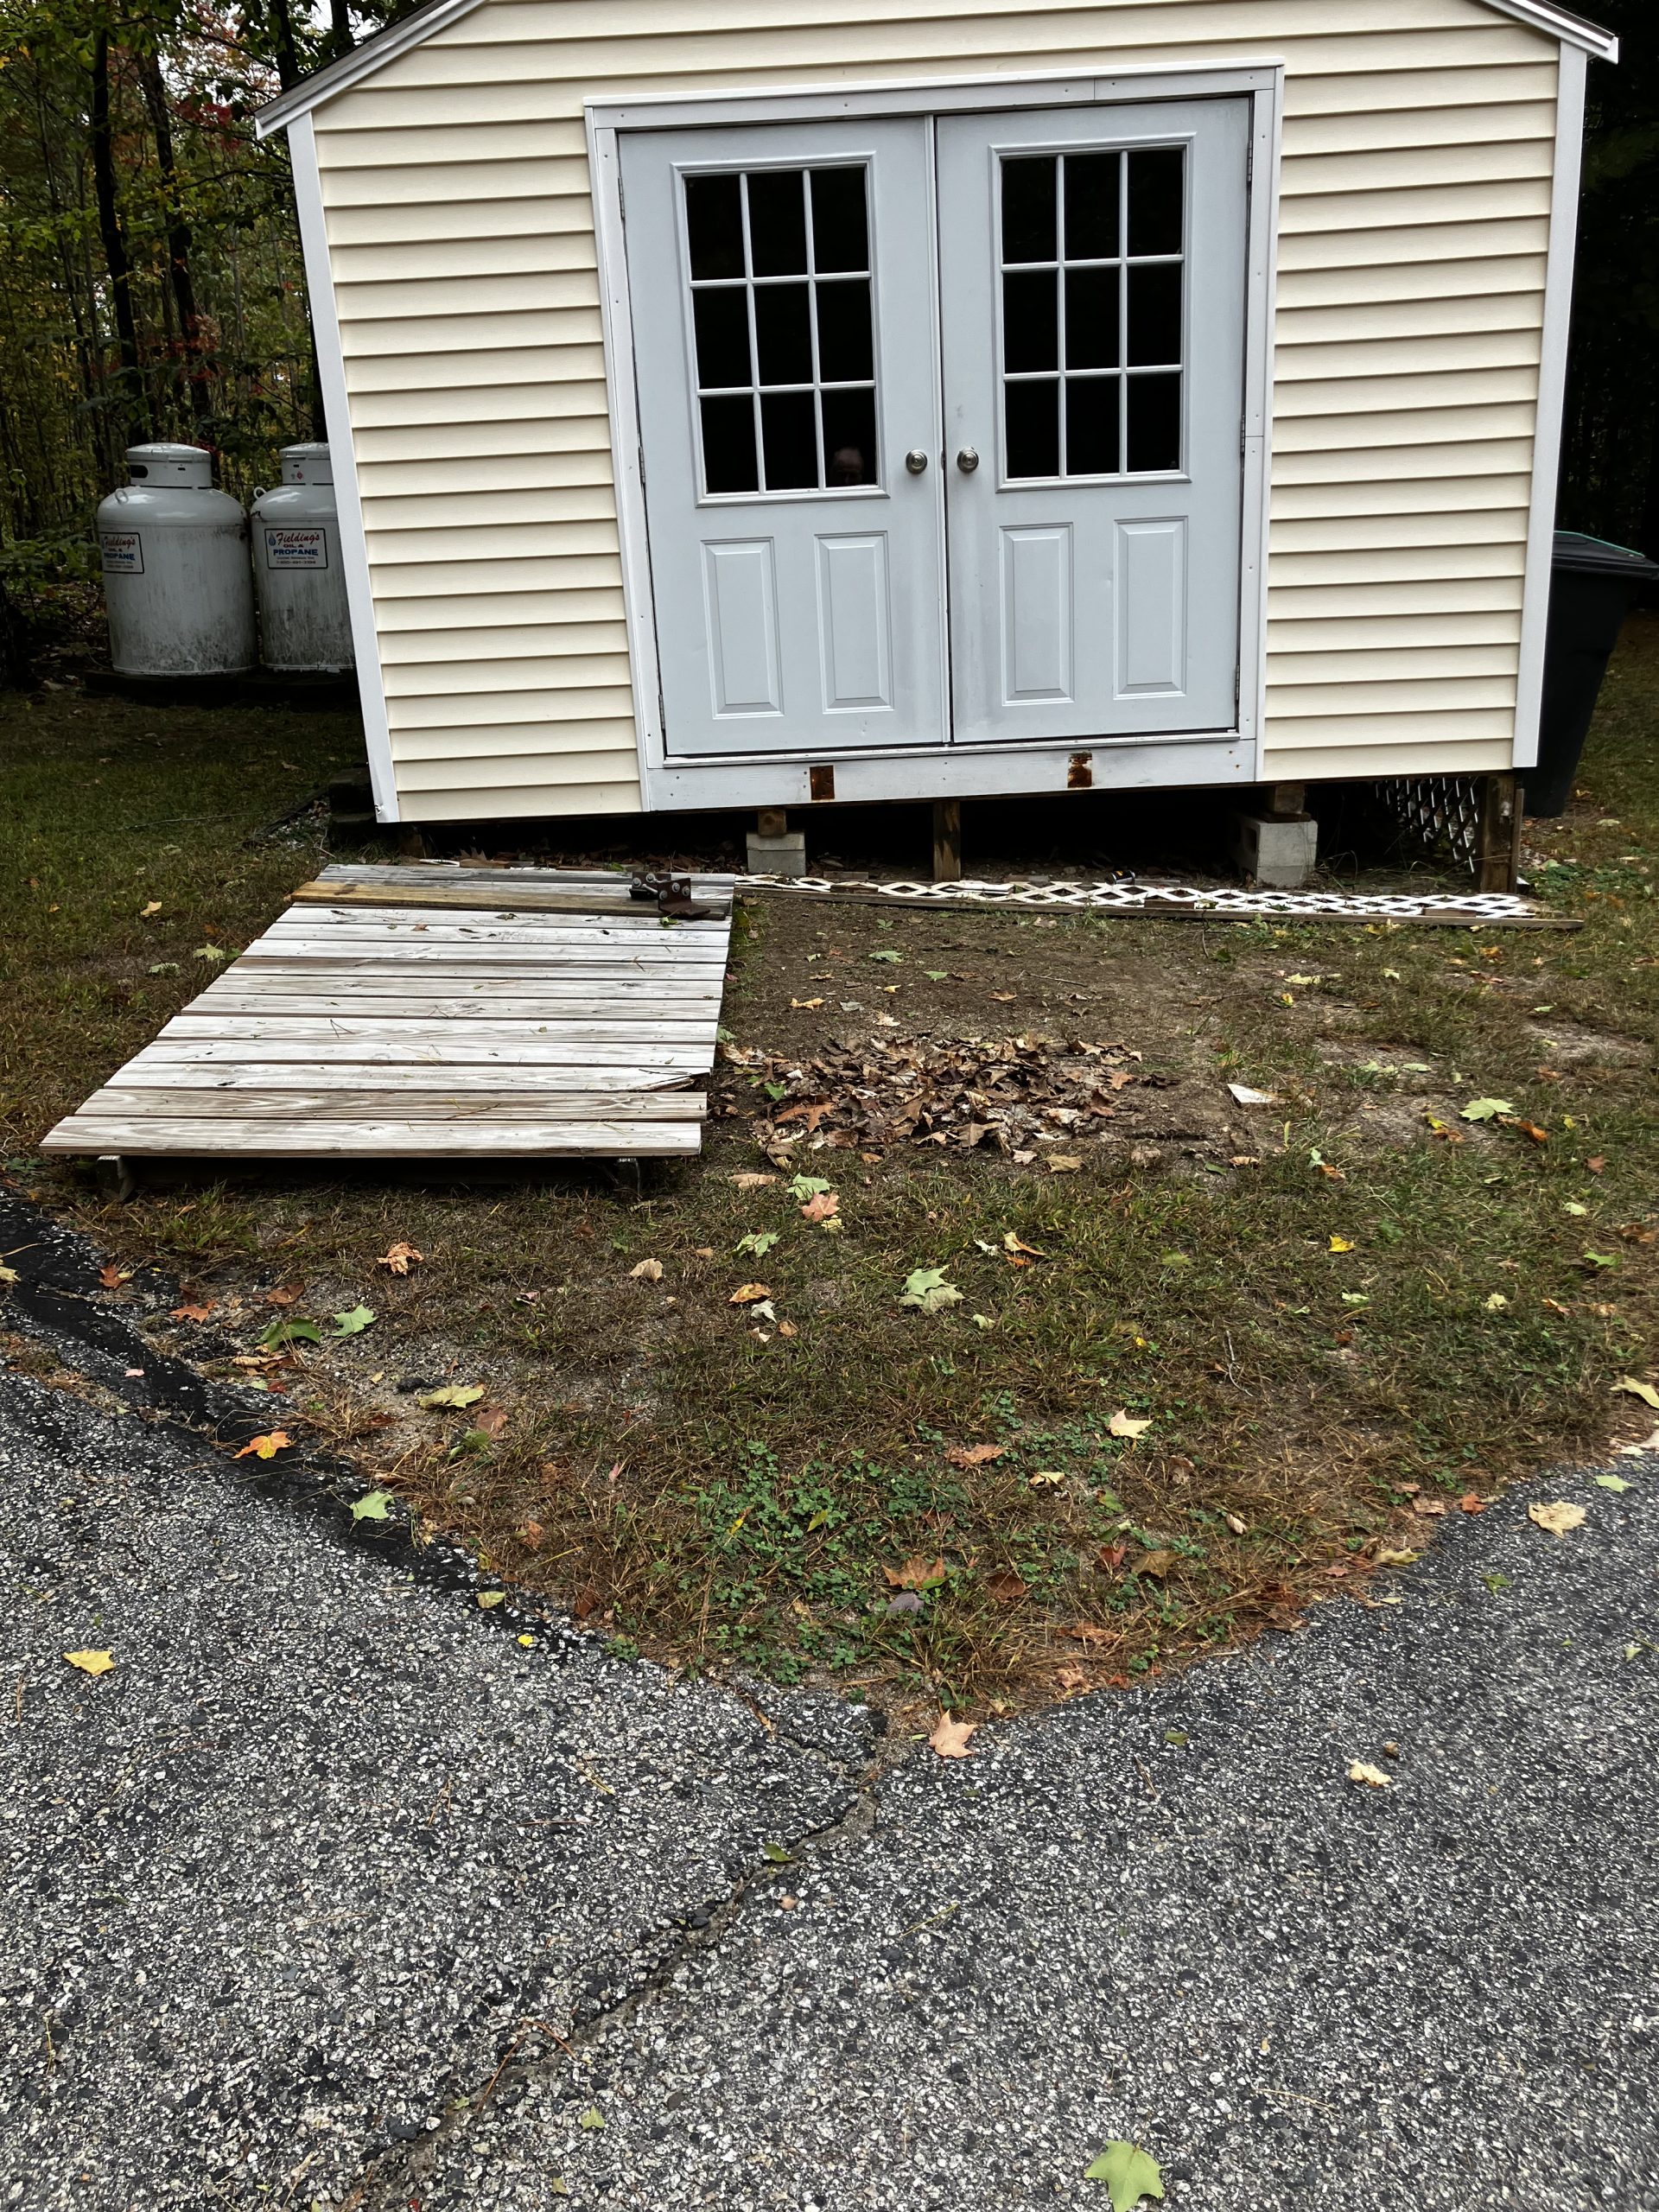
Pulling off the lattice to remove the ramp mount brackets, it became apparent that the slope the shed resides on is a tad steeper than I elected to remember. If I were to move away from a ground compliant semi-monocoque design, very similar to one that allows B-52 wing tips to flex upward twenty-seven feet at liftoff, and toward one more rigid, I would have to locate my shop geometry and trig reference books. Lowe’s Ever Bent™ store brand lumber compounded the challenge.
The new ramp would have to accommodate the slope and it would be have to be robust to assure no free fall of man on machine would repeat. Neighbors and Mainers from surrounding towns would come to see it in all of its majesty. As an Etruscan – American, I am genetically wired to perform such tasks… if I could summon my ancestral knowledge. I could not.
Digging holes without falling in…
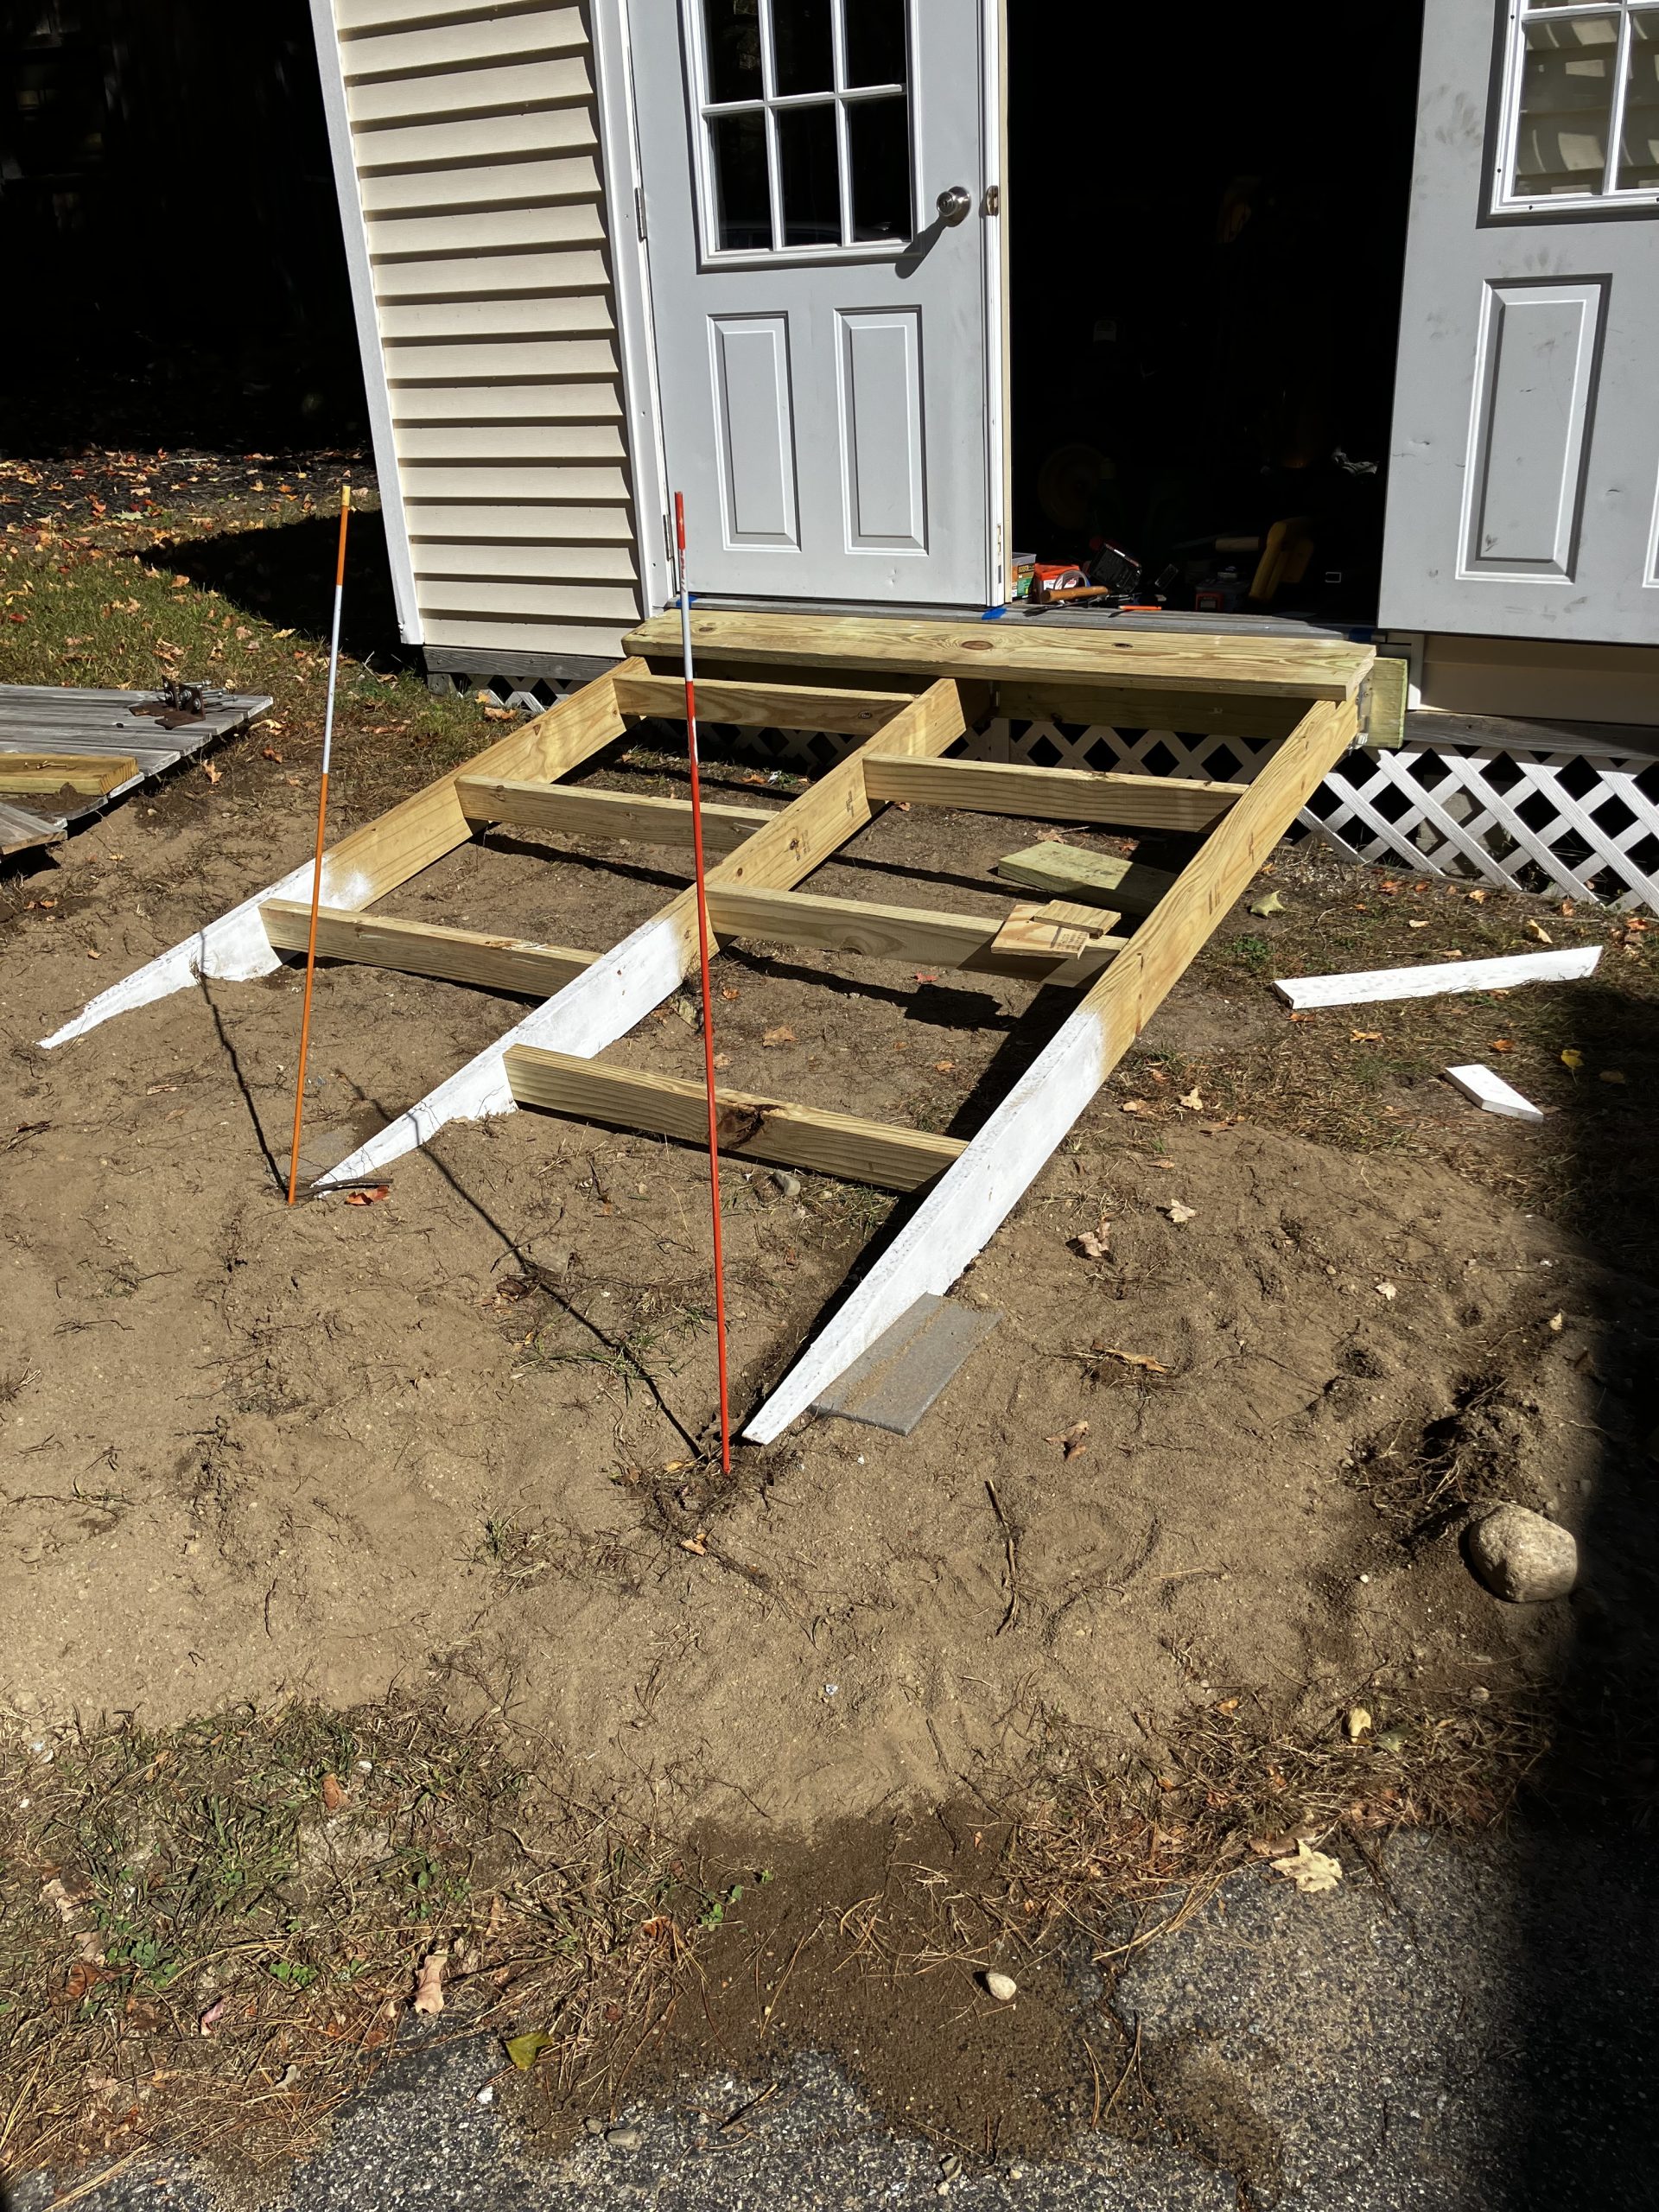
A 2″x10″ ledger board was secured to the shed and angle joist hangers secured the 2″x8″ joists to the ledger. The decking is made of 2″x10″ spruce. All of the wood is pressure treated and ground contact rated. The full length first joist, nearest in the picture, was set at an angle of 11.5°. This required some excavation to lower the end of the board into the dirt until the top end of the board was ground level. With a 2″ cement block top at ground level and adjacent to the end of the joist, a pencil line guided by the black was scribed onto the joist. A relief cut was made at the joist end to position the joist atop the block while maintaining the 11.5° joist angle. Pictured.
Each of the other joists were cut appropriately shorter in length to maintain the 11.5° angle and still terminate flush where they intersected the ground. If all of the joists were cut to the same length the ramp would lean with the slope. The geometry and trig books helped in this solution. I used them to shim up the joists for trial fits. After the trial fitting, the joists were moved to the side, the cement blocks were lifted and 6″ of dirt was removed to allow for a drainage gravel base below each. Some frame blocking was done for strength and rigidity and some backing boards were added to support partial length deck boards.
Out of chaos…
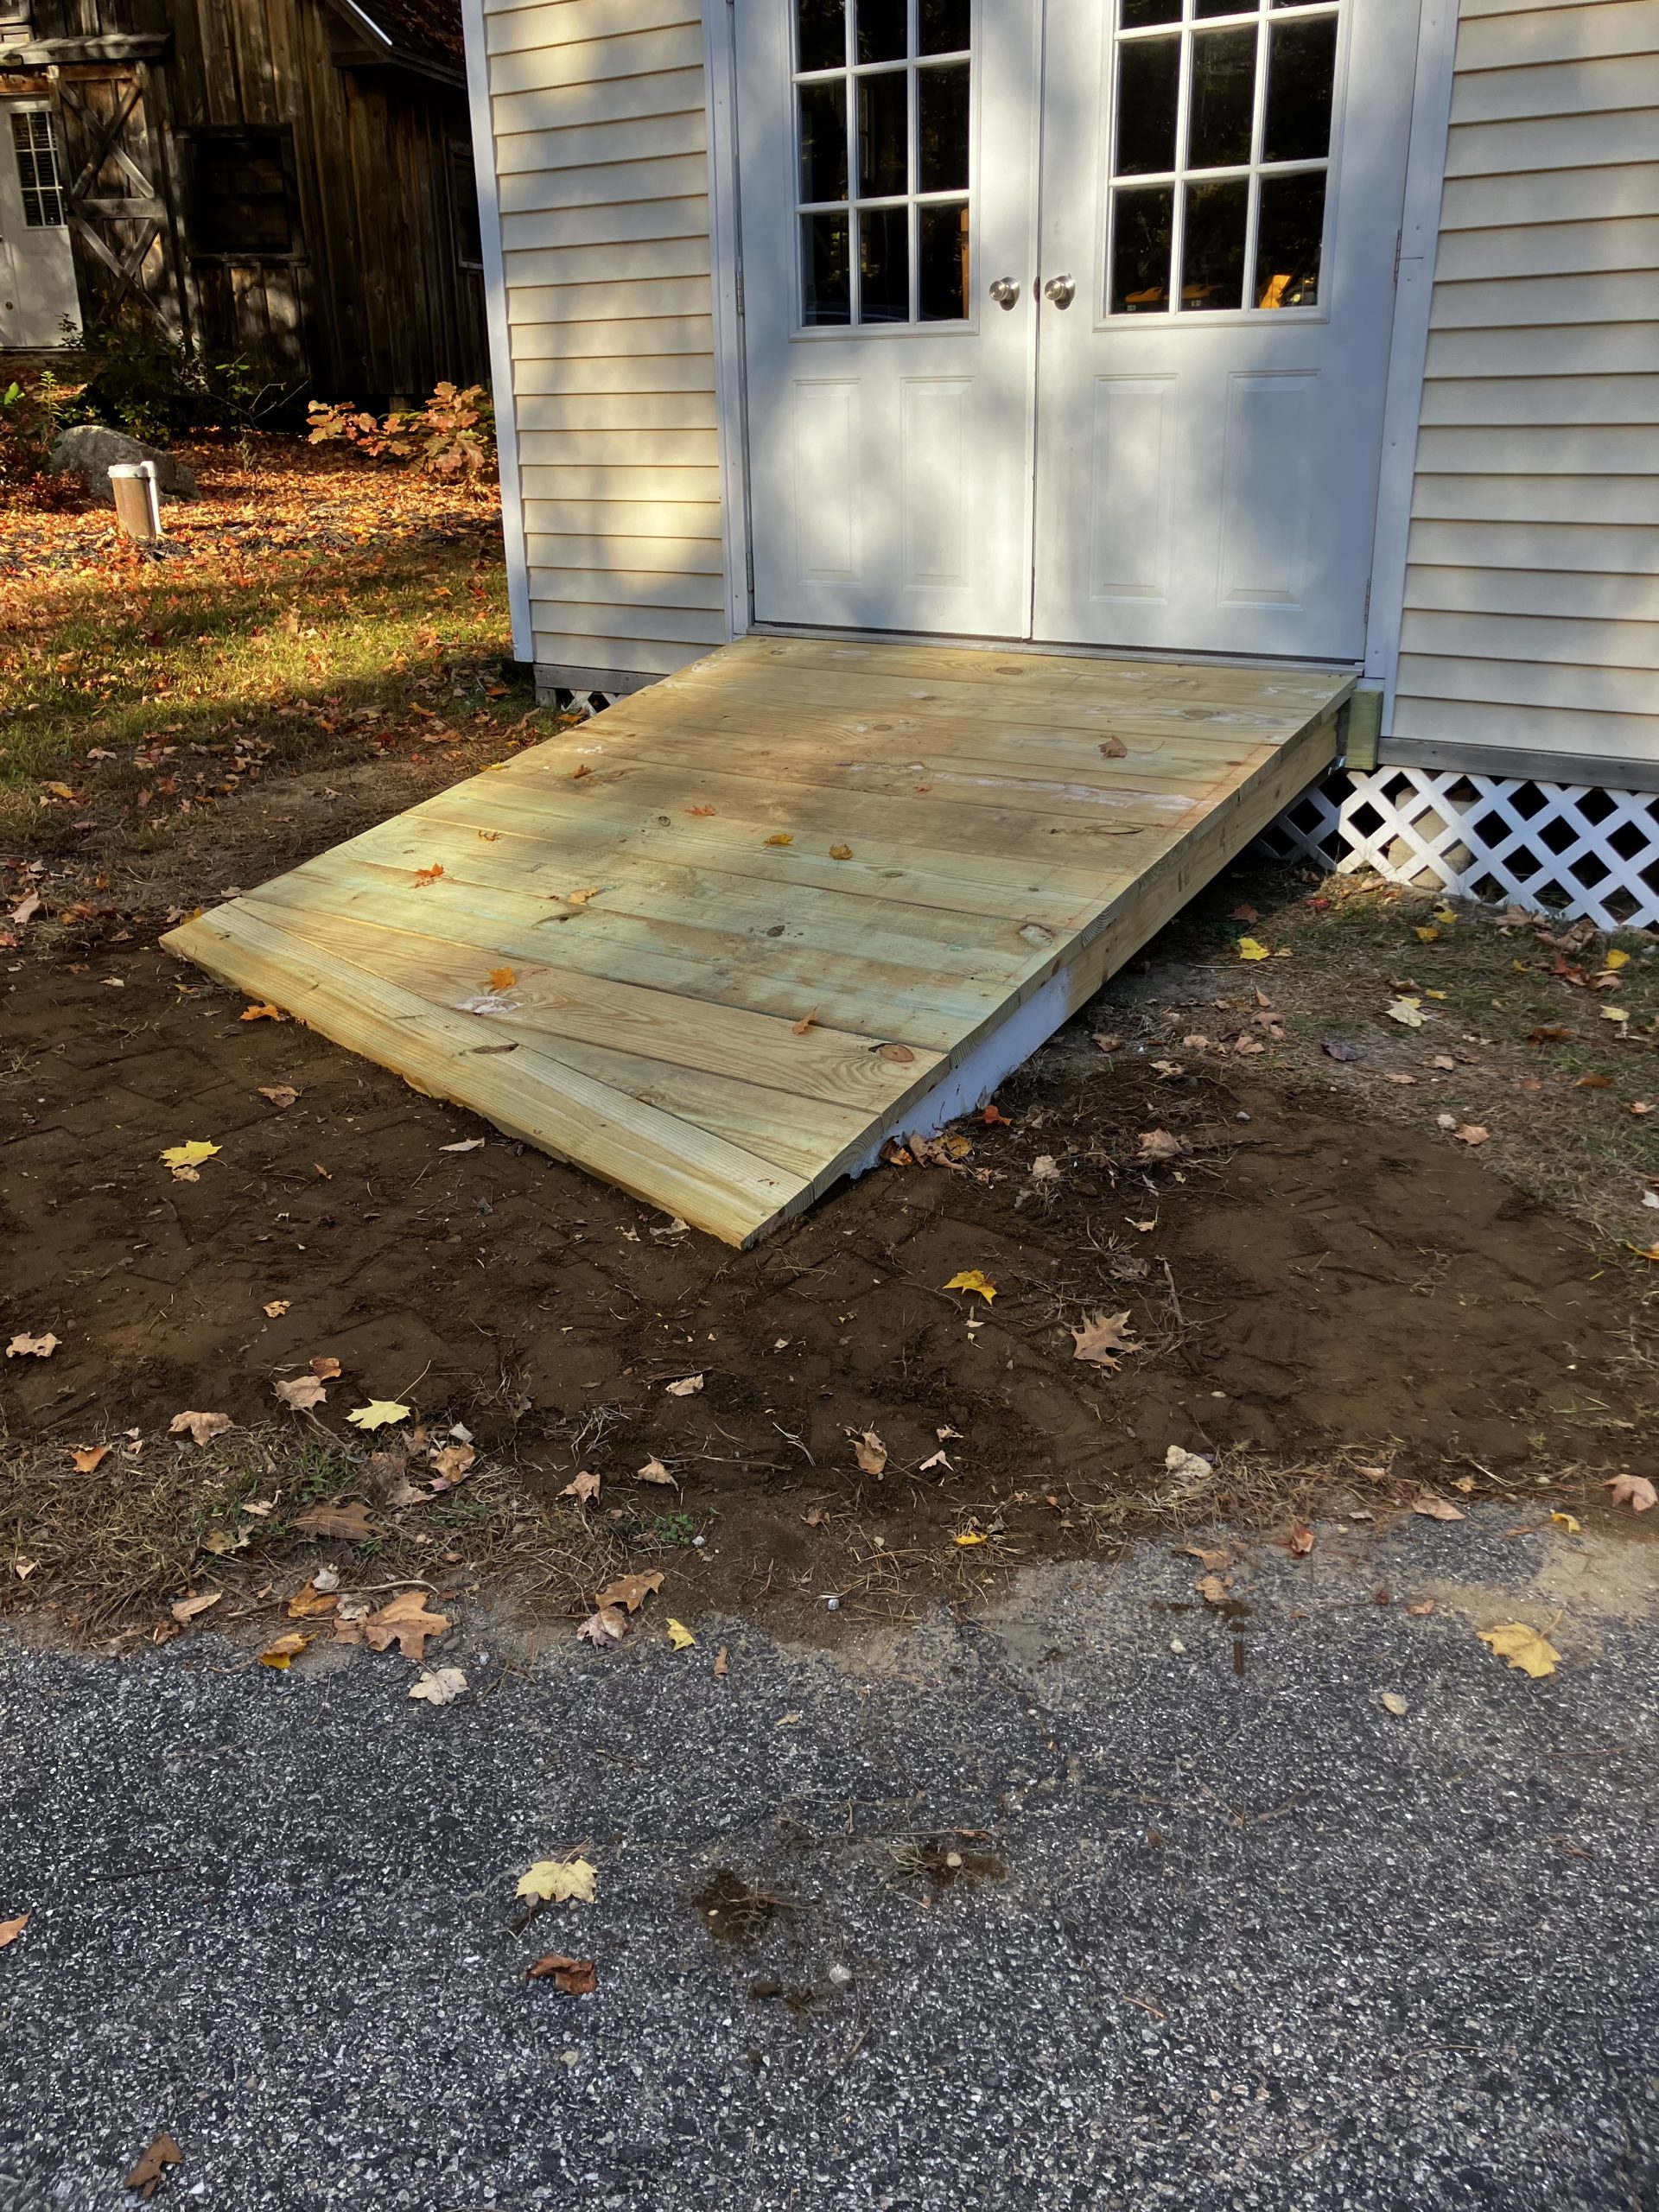
A 2″x8″ was placed at an angle at the end of the ramp, connecting the three joists. Angle cuts were made from 2″x 10″ board to fill the gap between the straight cut deck boards at the upper part of the ramp and the angled board at the bottom. The ramp is level side to side, retaining the 11.5° angle. Pressure treated lumber should not receive a finish for six month, so this is bare lumber. The white on the bottom portion of the joists is liquid rubber water seal. With soil tamped down with a… tamper, drainage gravel will be placed at the front edge for drainage.
Next up, finish boulder placement and topsoil for the spring rose garden or hang a code scanner on the truck to see if I can find out what buried treasure has turn on the check engine light. Hope you guys are having a good fall.





























Nicely done, Joe. Good to see you keeping busy with upkeep projects around your property. It was always satisfying to me when I finished a needed home/property task. Since moving to a “life care community” I find that I have quite a number of neighbors for whom I perform handyman services. Not as much opportunity to use power tools, but it feels good to be a community resource. Cheers and best wishes for the upcoming season.
Bill Craig
This was a project heavy year. A lot of fun, forced my brain cells into action and made for some good exercise. Satisfying and learned a lot. That said, I’m my own customer so easy to please. I think the best is when others see your value and seek your help. Congrats!
That project reminds me of your gun blog, Joe: excellent work done as well or better than by anyone else. A solid achievement.
Keep at it!
Thank you,Bill. Very kind of you. It was a lot of fun and kind of felt like a firearm project. Hope you are doing well and enjoying the season.