Retaining Walls And New England Pea Soup (Recipe At End)
Imagine a low retaining wall. Yeah, I can't either.
Every time I sit down to write, a distraction appears in one form or another. Yesterday it was a text session with my brother-in-law. Pete is a good guy who also has had a very long term love-hate relationship with the NY Giants and is also enjoying this very exciting season. The team is too chaotic to not enjoy. If you are a Giant fan, you know it is important to savor each win and dissect each loss and to pay tribute to a bucket head running back who drew a personal foul penalty for running over line backers. The ghost of Sam Huff.
This morning I took a break to get coffee and thought I would wash the breakfast dishes while the coffee maker was dribbling out a cup of dark roast. Half way through the rinse leg of the task I dropped and broke a clear tempered glass cereal bowl. It took five minutes to pick up the big pieces and dispose of them, then an hour and one half with an upright vacuum and cross light to find the rest of the shards and micro shards that covered the entire floor and spread into an adjacent room. Anyway….
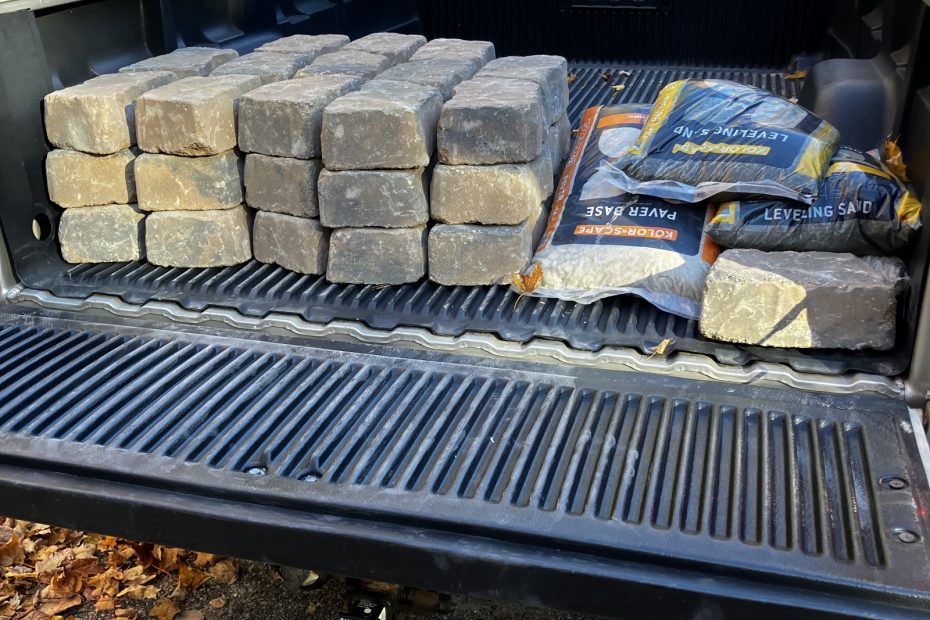
Look in the truck. Now imagine a garden with a low retaining wall. Yeah, I can’t either
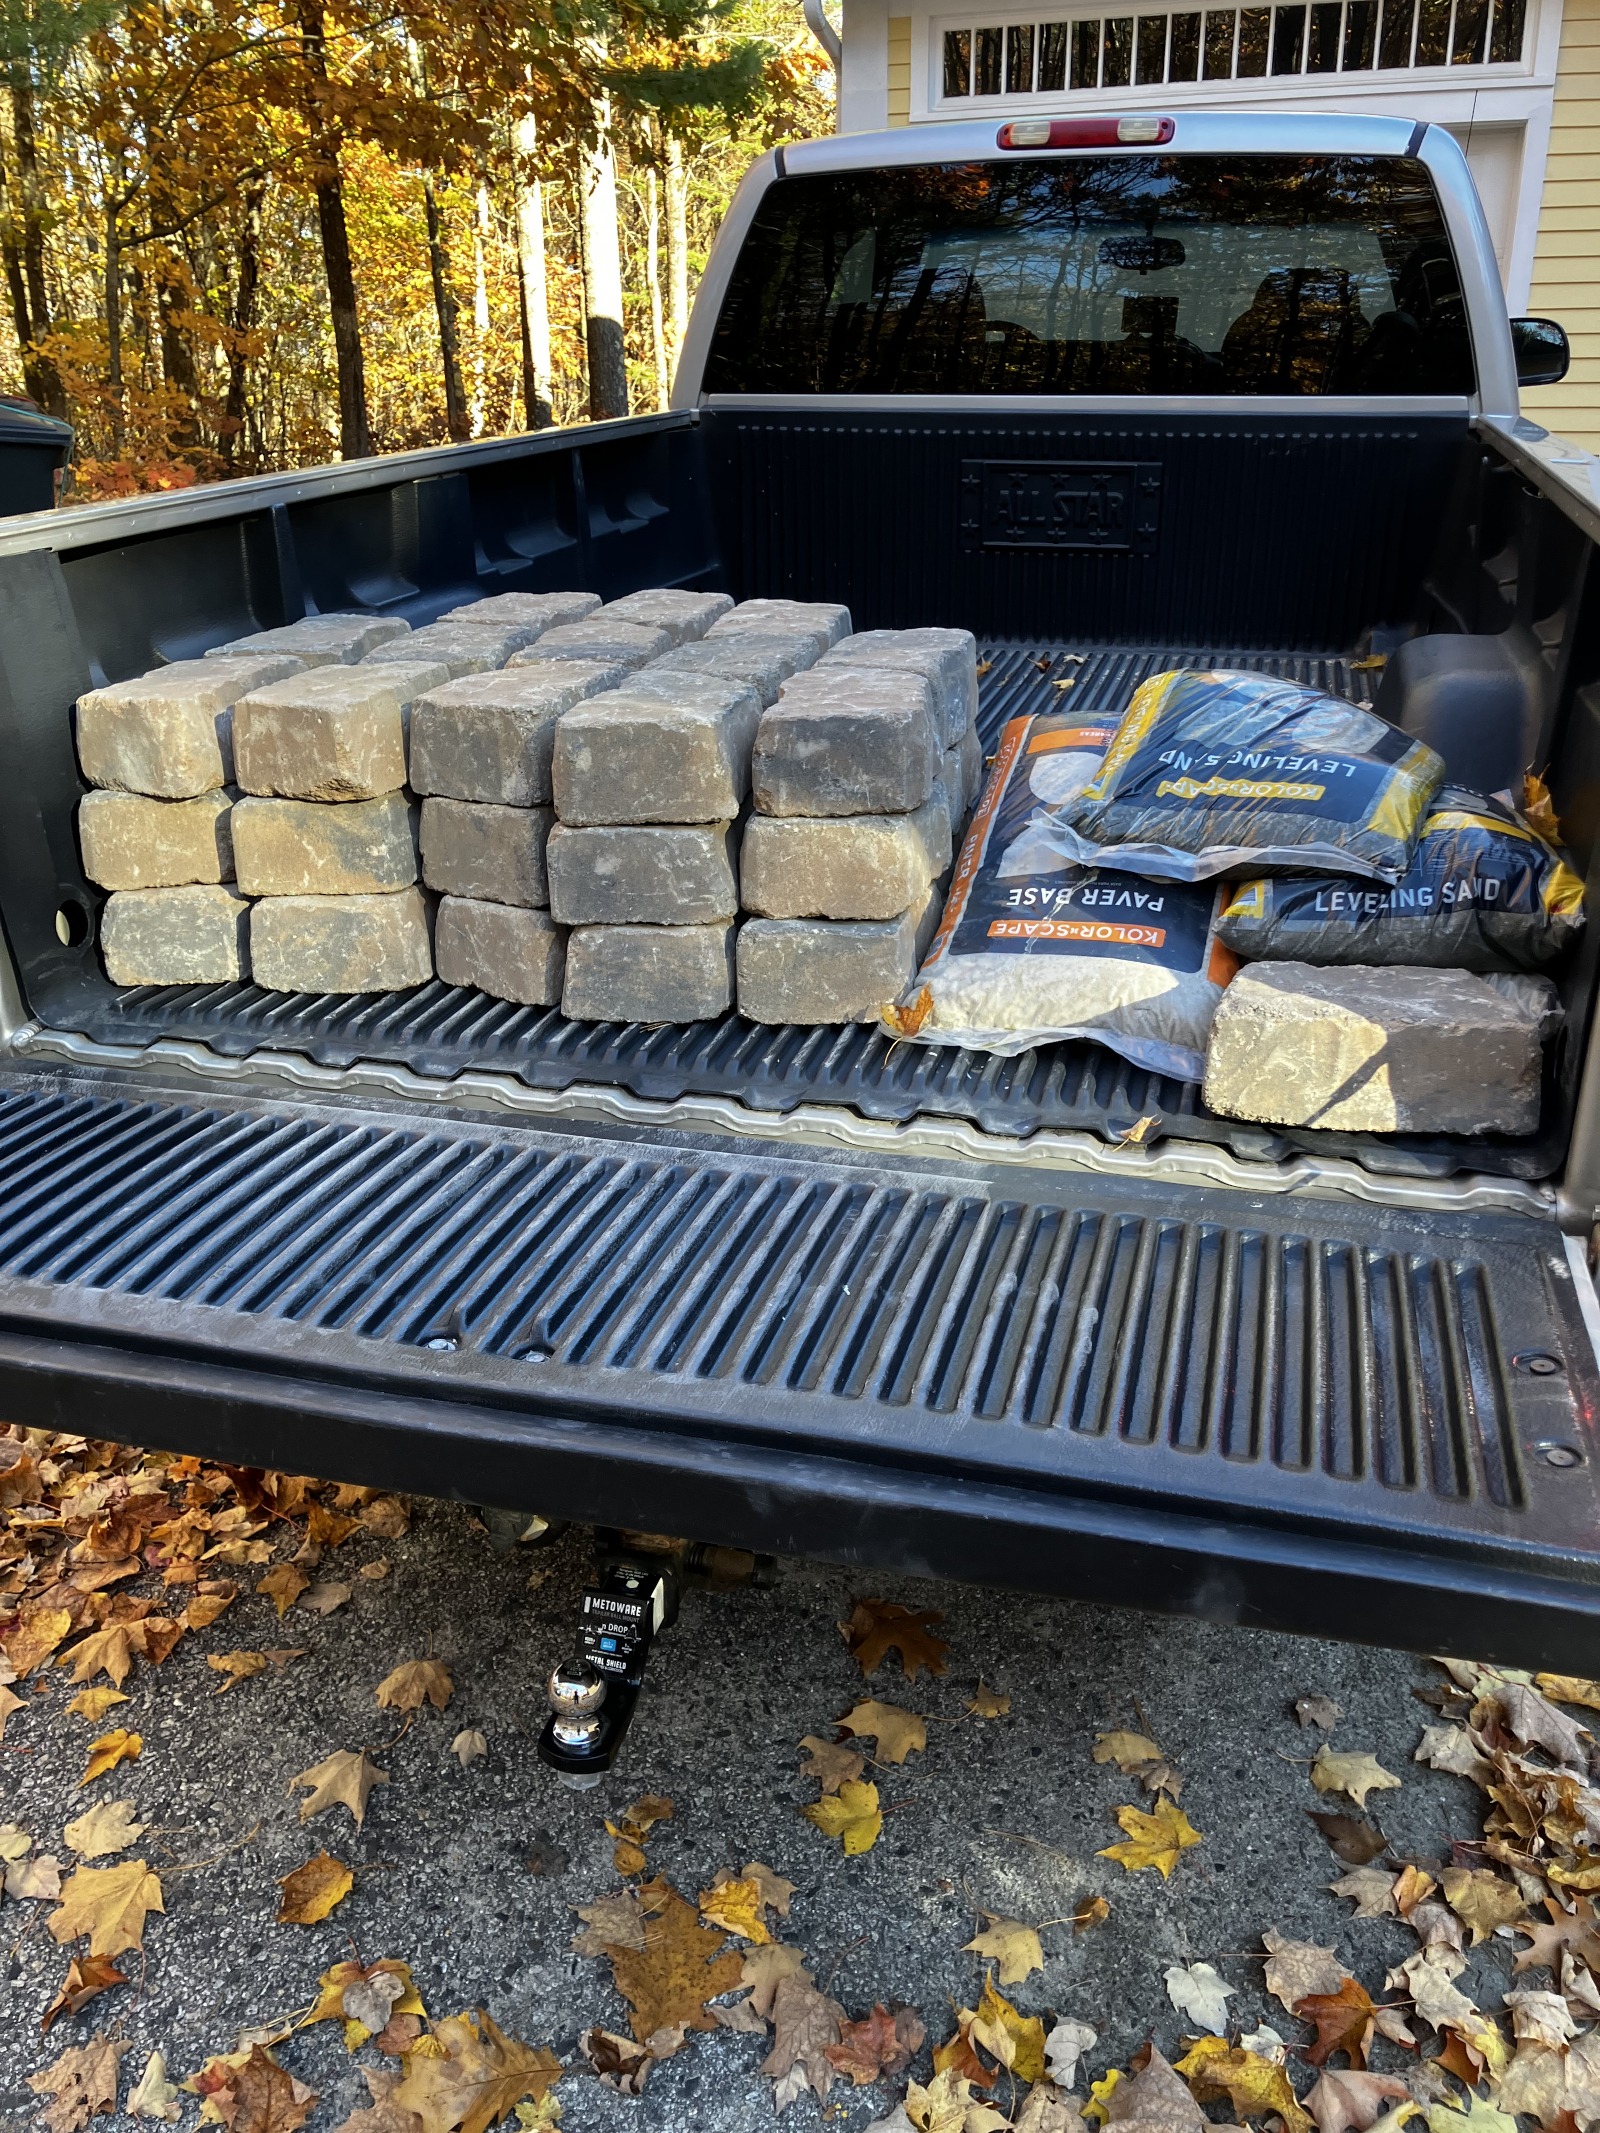
Above, the results of a Lowe’s drive by. A sketch of the garden was done, complete with stick figures, a walk around the site yielded some coarse measurements and a perusal of the Lowe’s website allowed me to construct a shopping cart bill of materials. A young guy loaded it all into the truck, approximately 1,200 lbs worth. Then my good buddy gravity assisted with the offload at the house.
I don’t know how to do a lot of things by training and skill set, but I am at that age where I have done most things in life at least once and use that accumulative knowledge to try virtually anything. Wise? Perhaps not. Fun? Absolutely.
My projects are almost always the result of getting a quote from a professional, finding my raised eyebrows at my hairline and thinking I may have to do the work myself. Two areas exempt from that process, AC electrical and plumbing that involves cutting and soldering copper supply lines from the well.
The project
The intersection of the driveway and a turn-around on sloping lawn was marked with a few boulders. Their purpose was mostly to stop delivery trucks from using the lawn for a turn-around. The problem was that they tended to remove catalytic convertors and front spoilers and, sometimes, impaled whole vehicles. The thinking, and there was a lot of thinking, was that placing a larger feature at that location would discourage traffic in a more benign fashion.
Step one. Back the tractor out of the garage
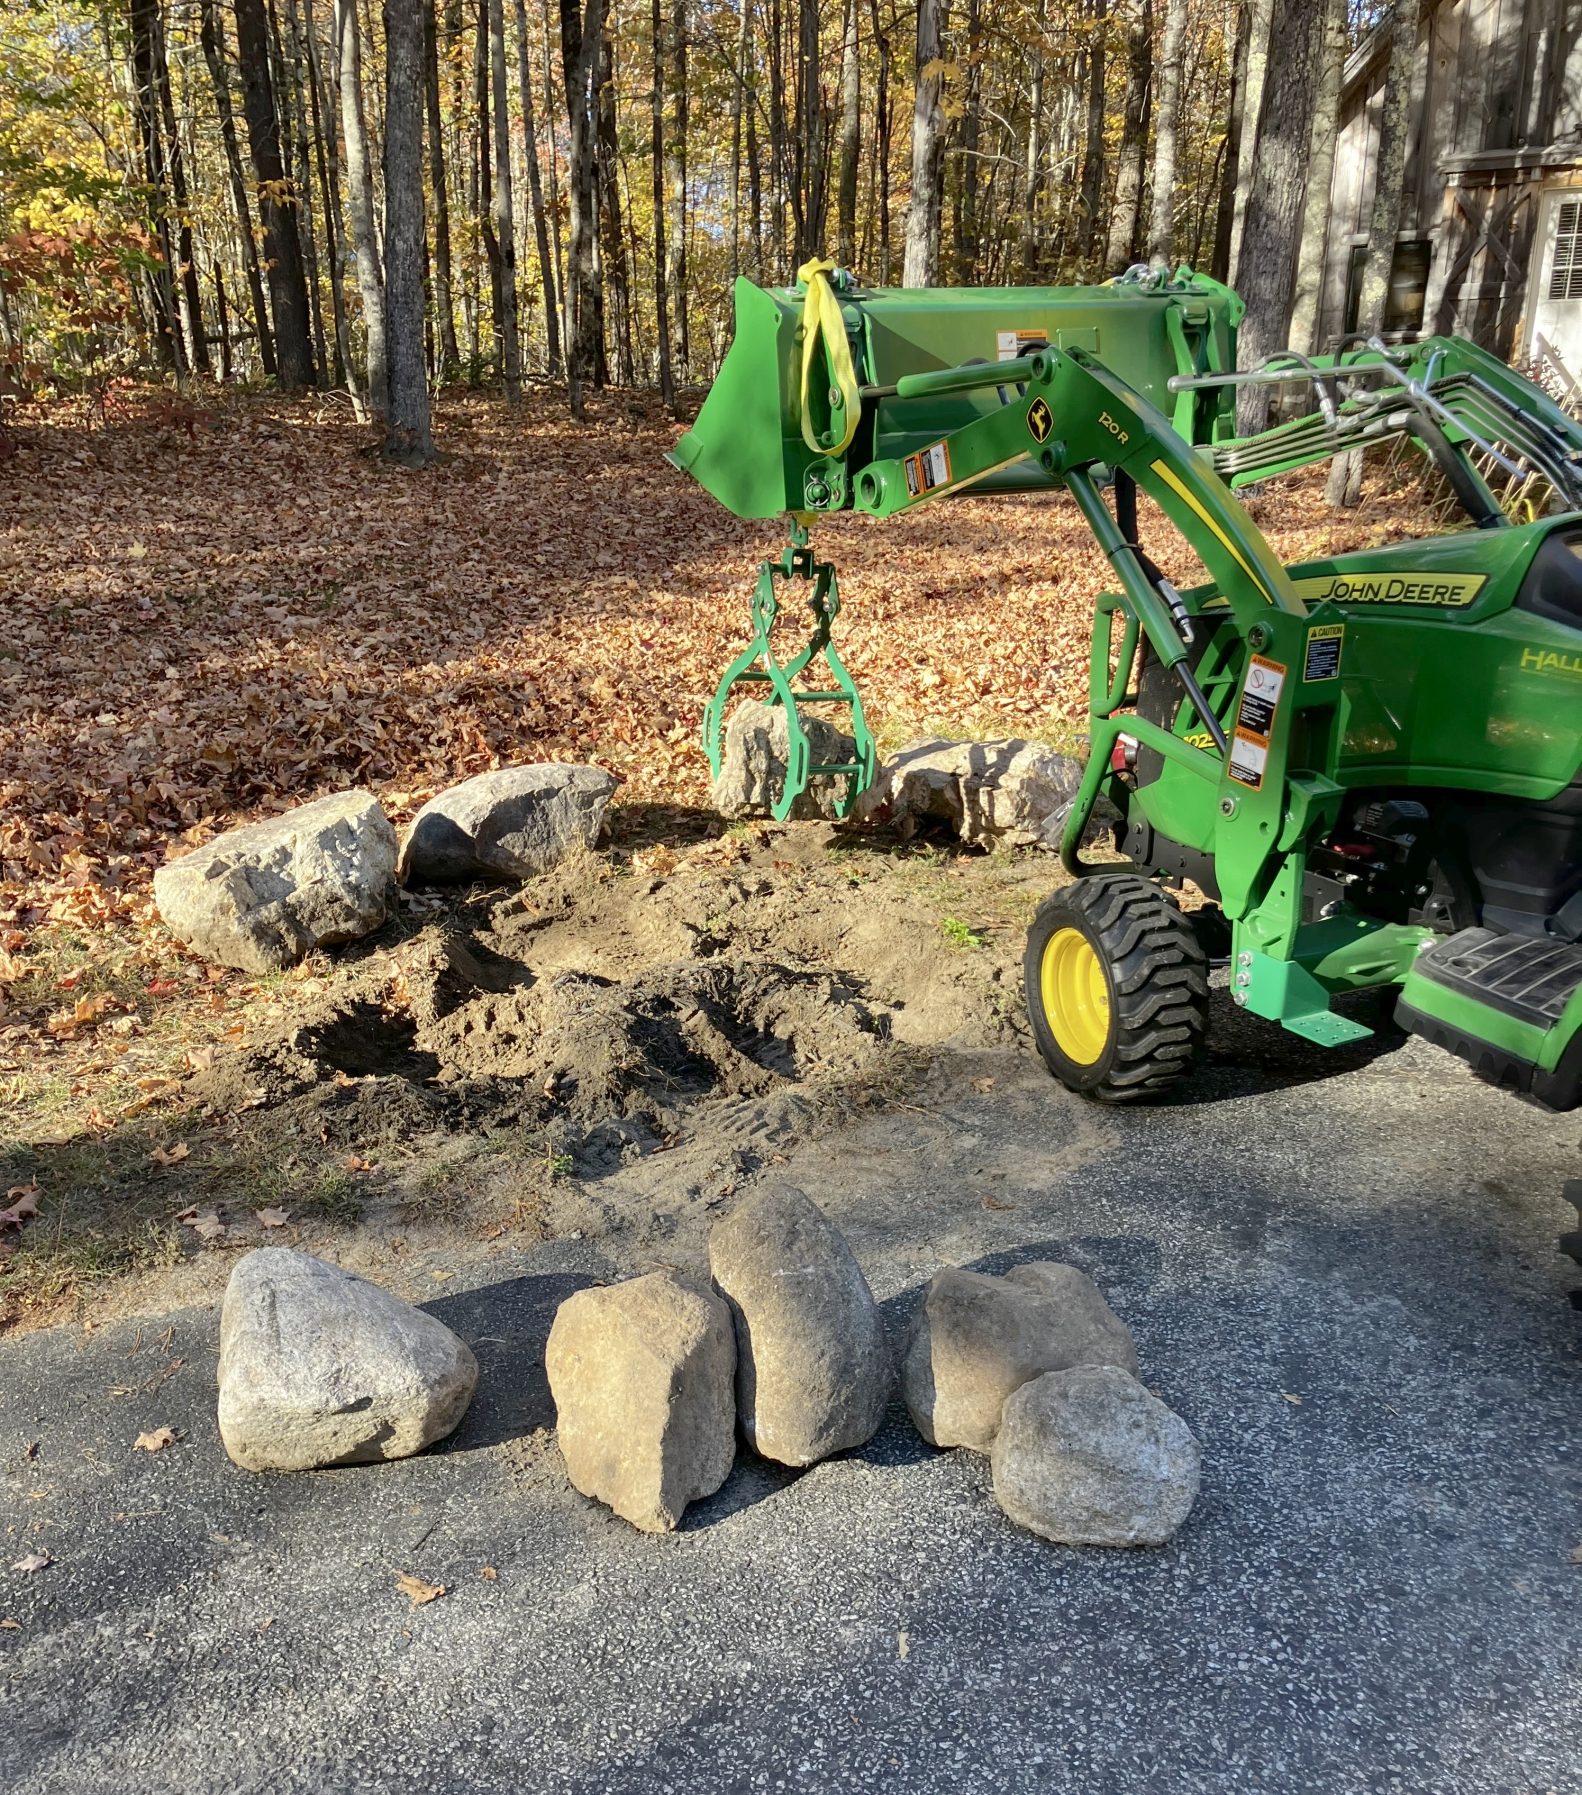
The plan was to create another section of garden. Yes, building a wall. More boulders were required and, not surprisingly, Maine has many to offer. The approach was to take Sparky off-roading with the lower lip of its bucket 12″ off the ground. When I ran into a boulder large enough to prevent forward motion, it was scooped up with the tongs and hauled over to the work site. Boulder placement was determined by the design, gravity, topography and how much adjusting a Johnson bar or pinch point would allow.
The result of man-machine collaboration
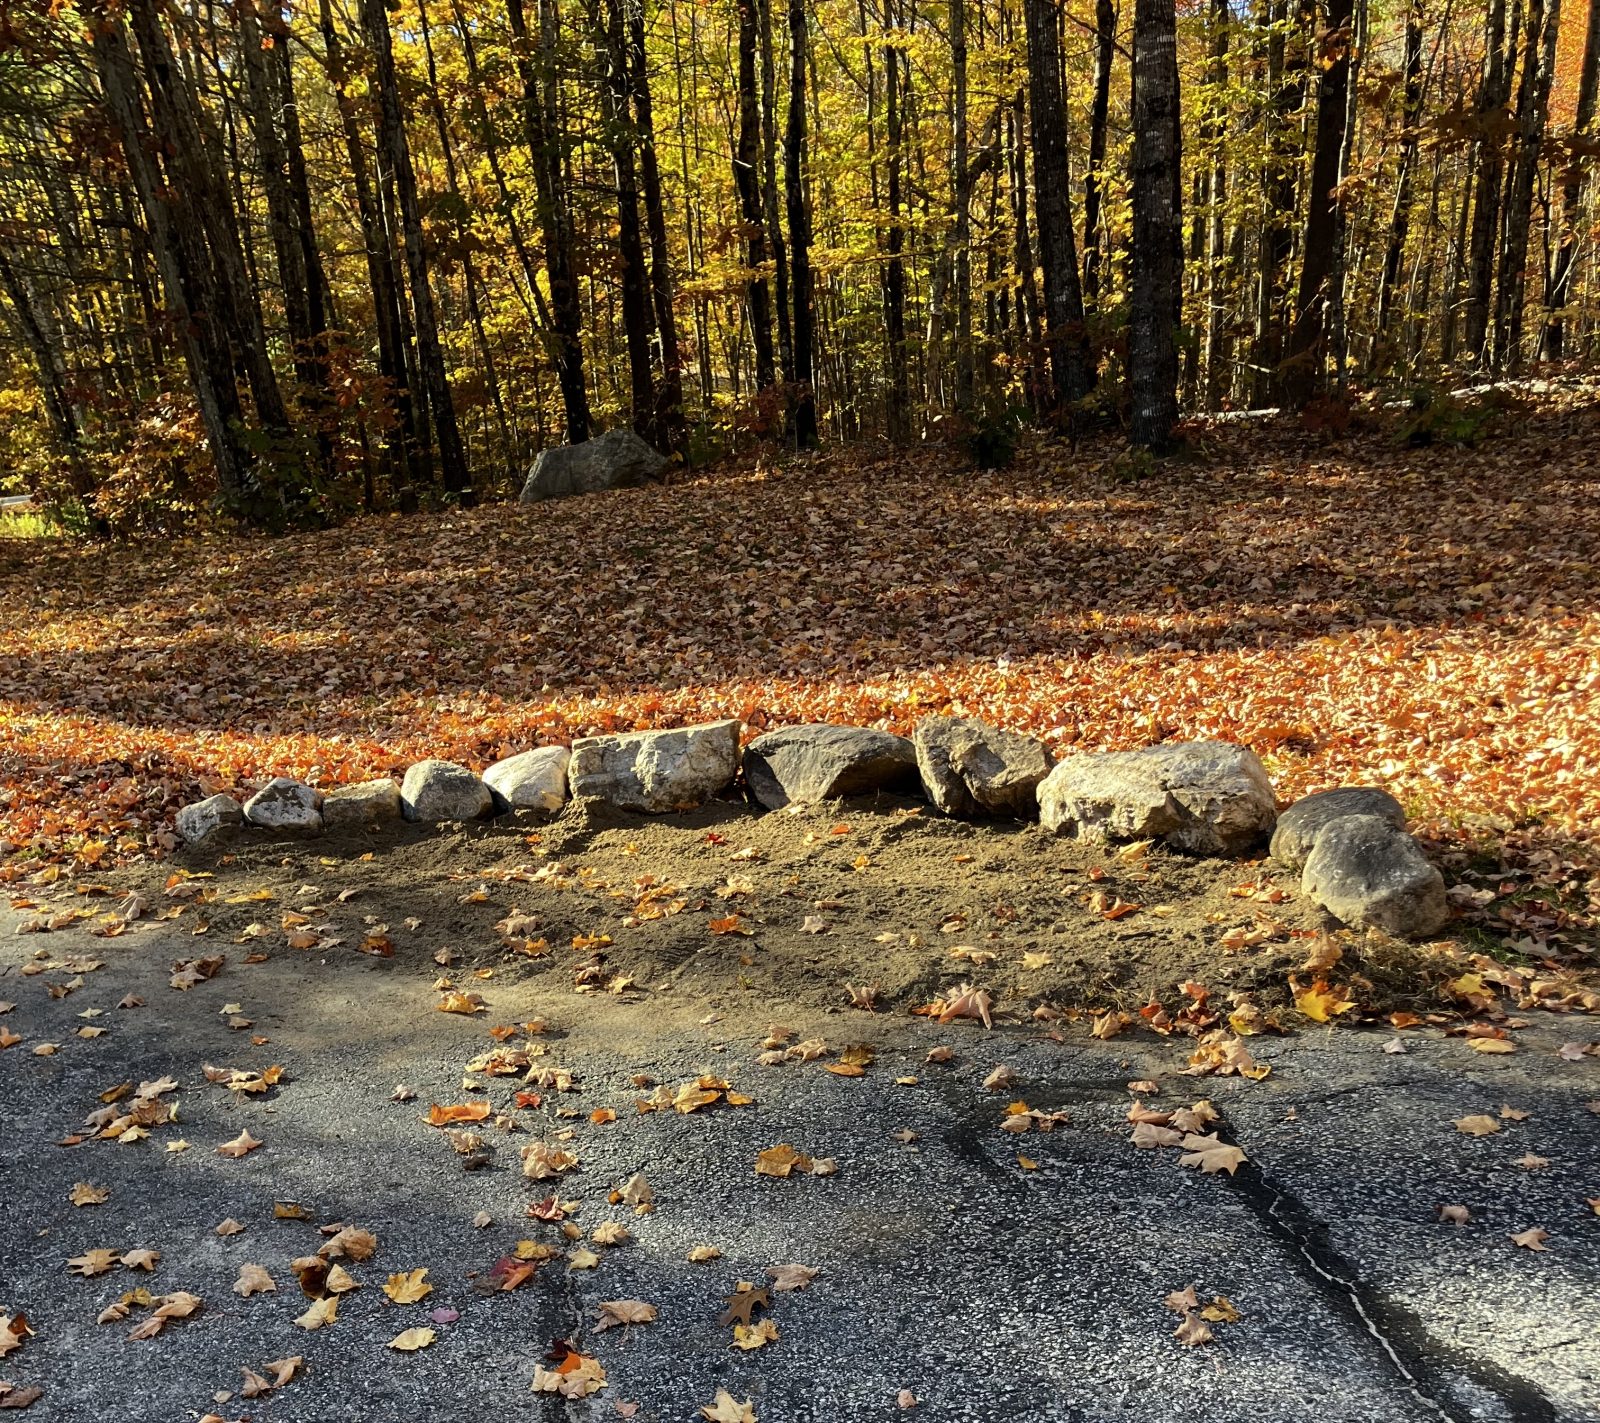
So after a lot of noise, exhaust fumes and teetering trail riding, an elliptical array of rocks were committed to the slope. If it rained with the work in processes, the result would have been a driveway mudslide. So excavation began.
Step two: Get the pick, shovel and rake
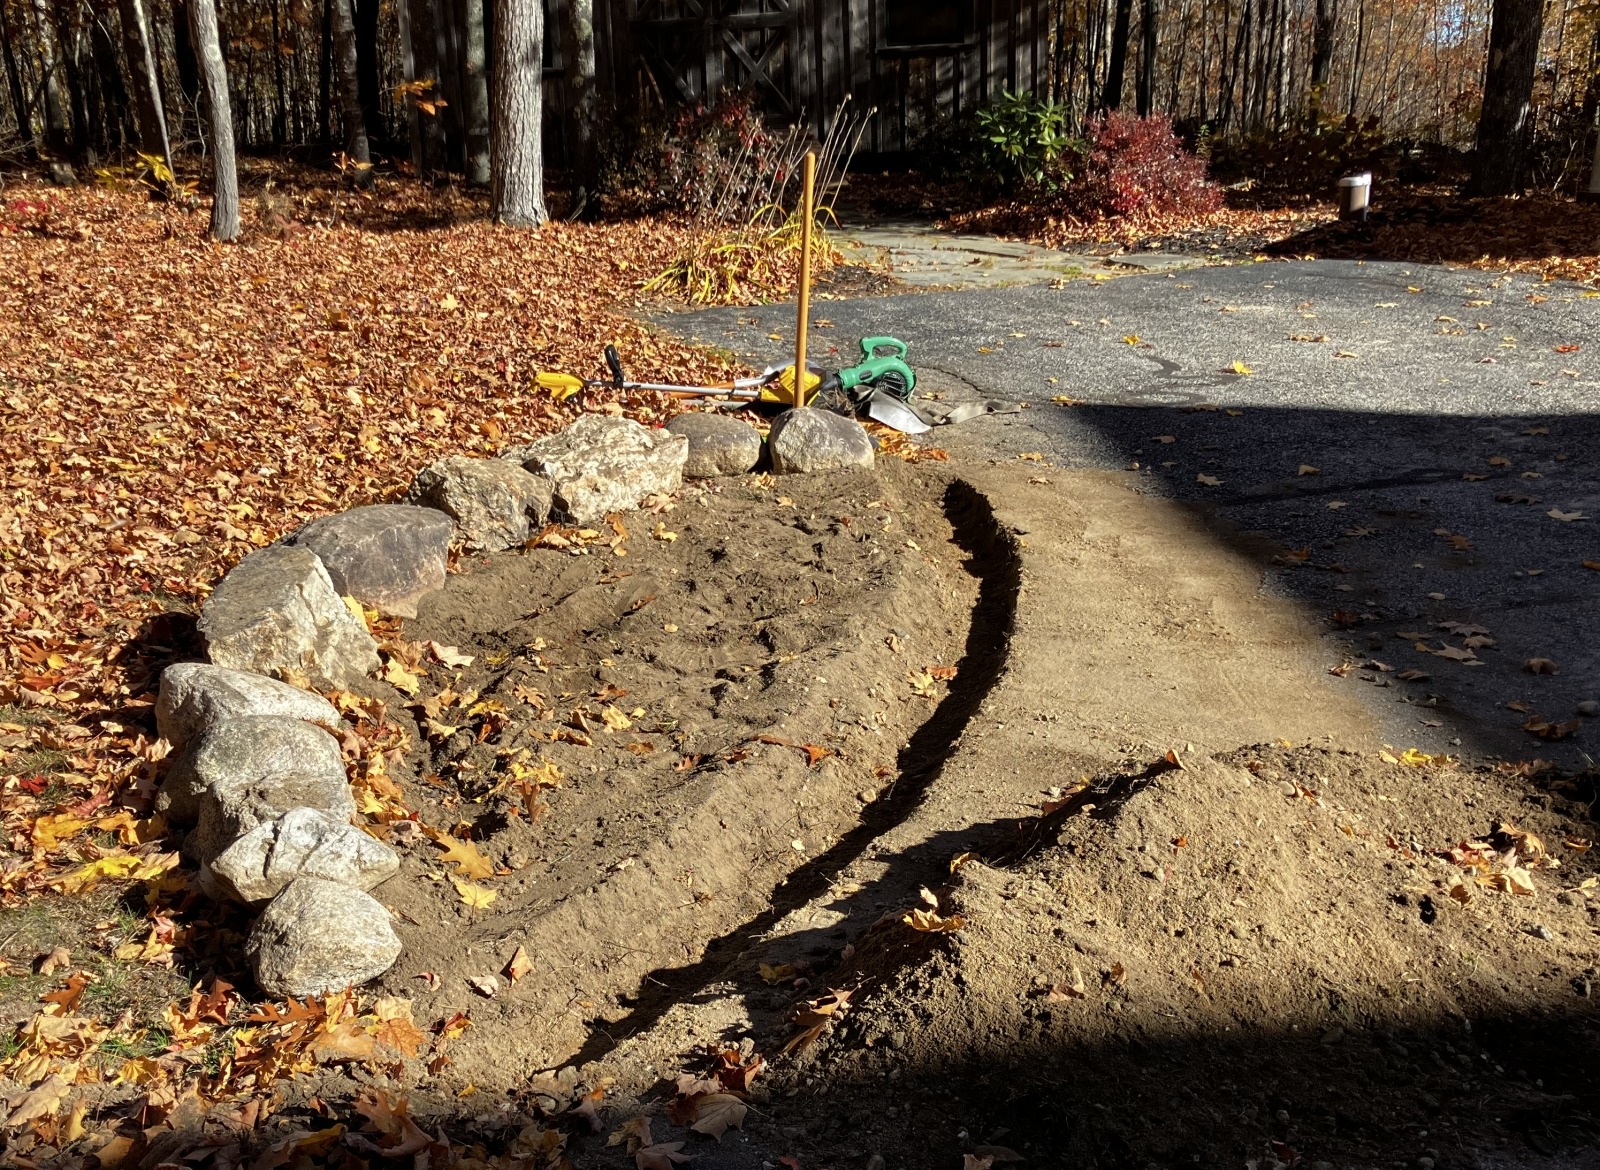
As learned from reconstructing a paver-based walkway this past year, approximately 4″ of paver base goes under the pavers for stability and drainage. Additionally, approximately 2″ of leveling sand goes on top of the paver base to allow for aligning and leveling pavers. An 7½” trench was dug with a trenching shovel that follows the contour of the driveway; 4″ of gravel, 1½” of sand and 2″ of the first course 4″ paver.
Dirt was also skimmed from the open area within the perimeter to allow for several inches of top soil that would be conducive to plant growth. I learned that from my wife. The removed soil was very sandy. Probably the result of inexpensive fill that was dumped when the house was built, although fifty years ago timber was harvested and processed on this spot and sandy soil is all around.
The use of fabric is material

Landscaping fabric was put down in the trench and, eventually, the entire garden bed. It does nothing for weed growth as dirt ends up in the gravel and that is enough to promote weed and grass growth. However, it does stop the paver base gravel from being absorbed by the soil beneath. Three years of rebuilding drip lines were enough of a lesson.
In the absence of skill, I was forced to take desperate measures
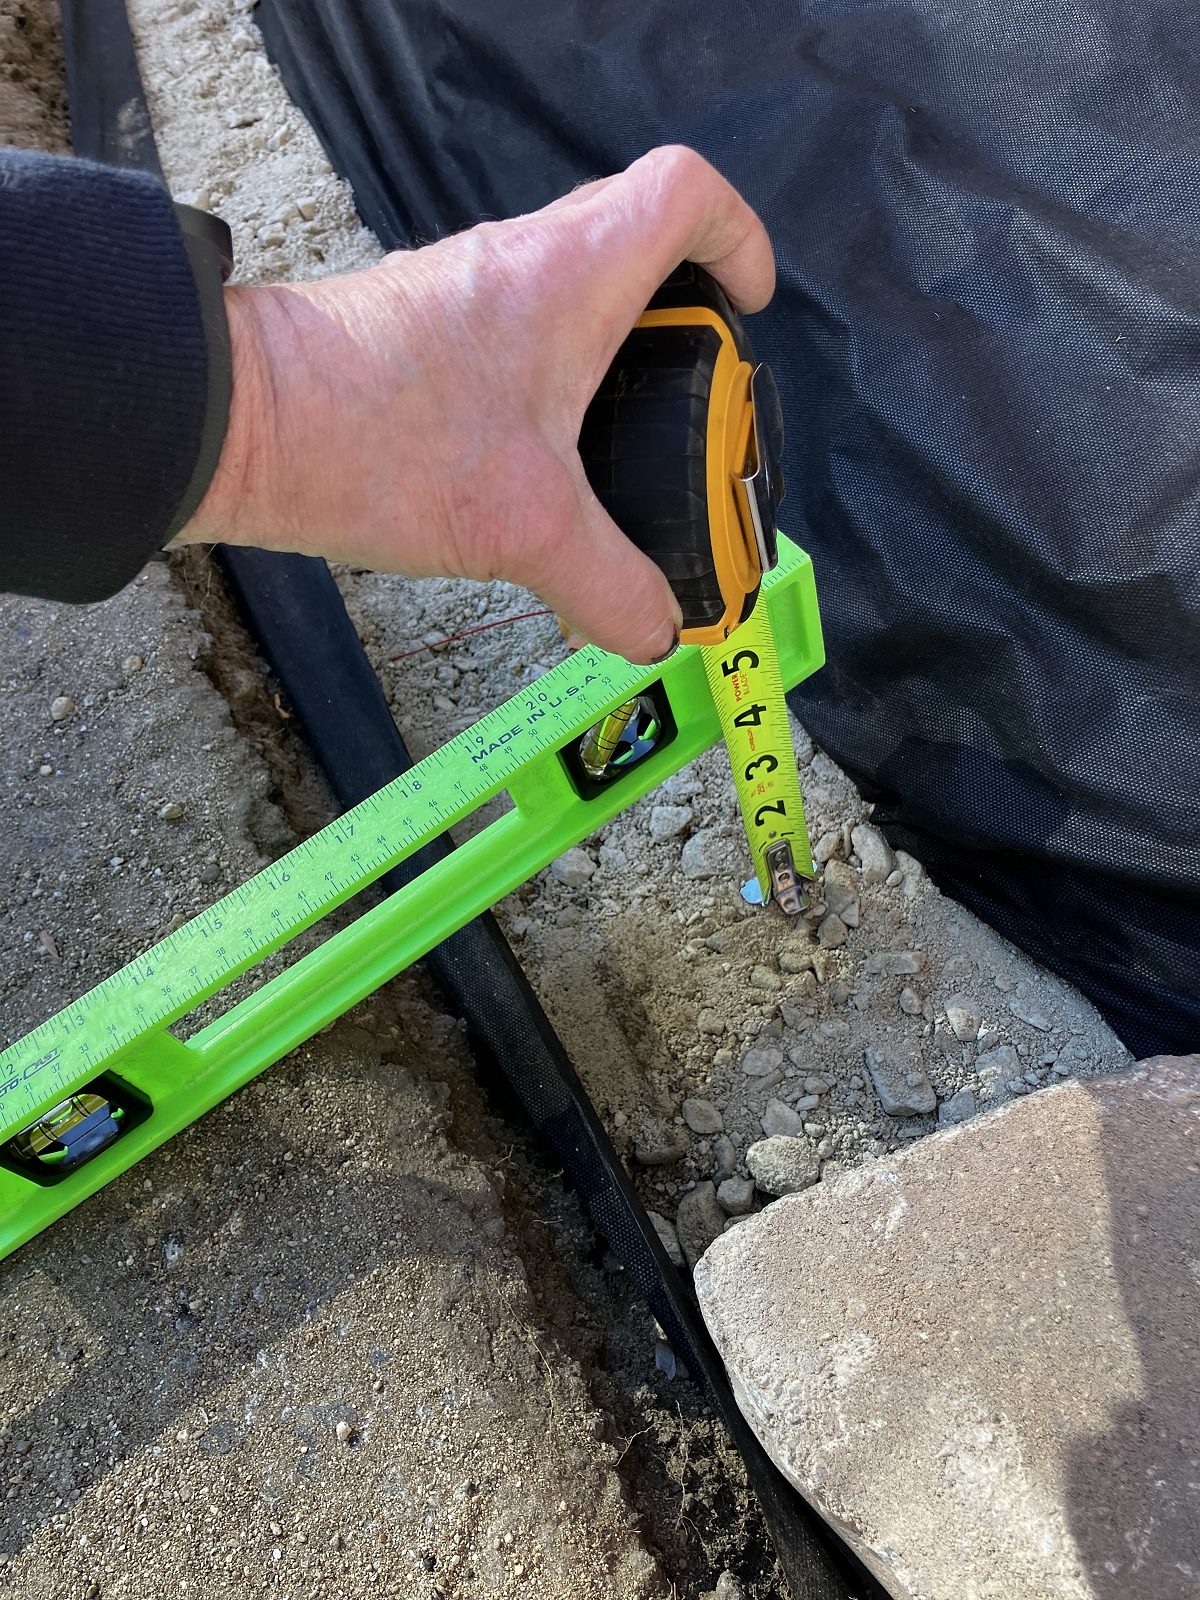
The gravel was poured into the trench and tamped down, eyeballing it for depth and level. A level was placed on the driveway blacktop, extended over the gravel, then a tape measured the depth below the level at 3½”. Then 1½” of leveling sand was deposited and tamped. Then the cast stones were installed, leveled front to back, aligned on either side with adjacent stone, with a rubber mallet finessing placement. The second course was added and checked front to back and side to side for proper alignment.
And then it was done
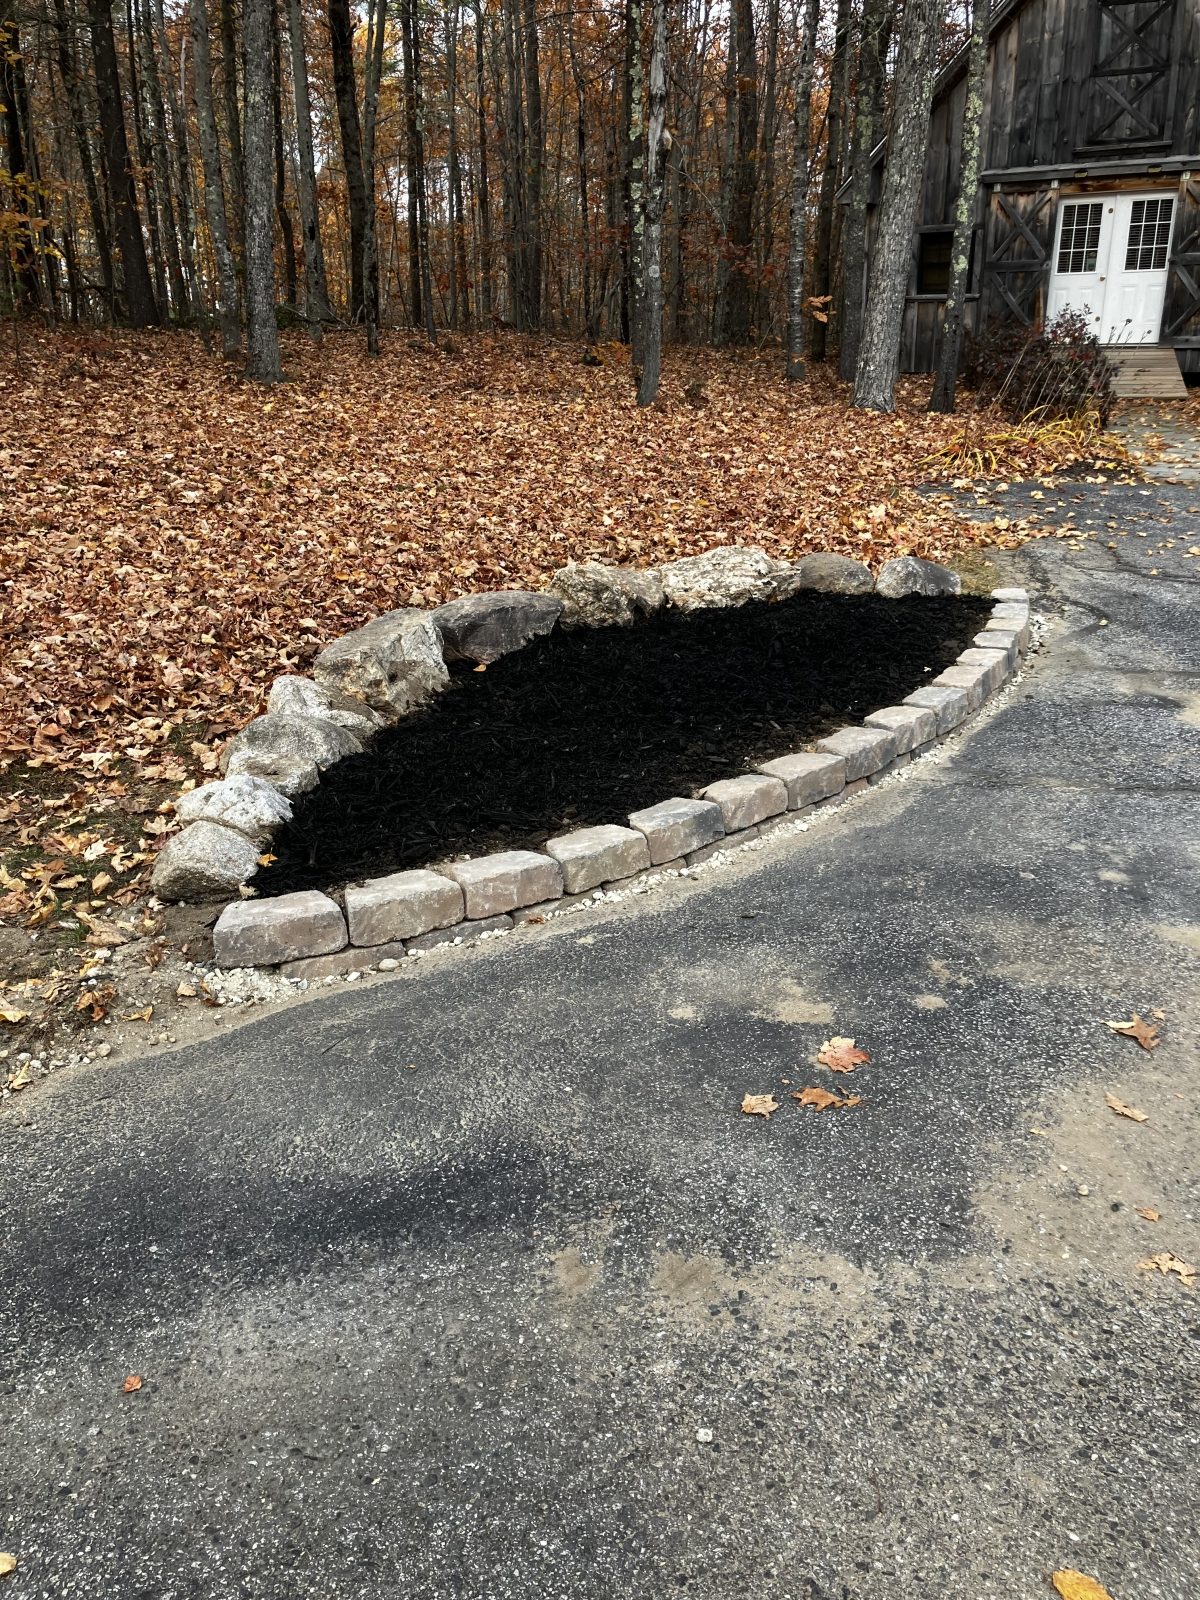
The pile of dirt removed was used to backfill the low wall. Ten 40 lb bags of topsoil were plopped on and four 50 lb bags of black mulch were plopped on top of that. Not great art, but better than a few boulders parked on the lawn.
I store material down a little dirt road behind the yard and the treeline. The mulch bags had been stored back there for a year or so. When I but the bag open over the garden area and lifted it to spread material around, a family ejected from the bag with all of there belongings. Damn tourists. Now the garden can age over the winter and be ready for spring planting.
The first pea soup of the season

My talent as a cook is about as hit or miss as my landscaping skills, but friends and family seems to enjoy this soup. It only took me twenty-five years or so to get it this far, but I am not the smartest pea in the pod. Good, bad or indifferent, it is yours to try.
Ingredients:
32 oz split peas
2 heaping tablespoons minced garlic
1 cup white onion chopped
1 cup celery hearts chapped
1 cup baby carrots shopped
25 oz cubed ham steak
1 teaspoon black pepper (to taste)
1/2 teaspoon Kosher salt (to taste)
A few sprigs of Italian parsley
1/2 teaspoon thyme
1 bay leaf
24 oz steamed red potatoes (optional)
4 cups chicken broth
1 cup water
1 tablespoon Argo corn starch mixed with two tablespoons of water for a thickening slurry (optional)
Instructions:
Night before, bring a pot of water to a low boil, stir in peas, cover and remove from heat. Check in an hour or so and add tap water to cover peas. Let stand overnight.
Place all ingredients, with the exception of the potatoes if used, into the slow cooker. Cook for eight hours on high setting. Do not uncover or stir while cooking except as noted. Potatoes – I use steam bag red potatoes, adding them ½ hour before soup is done. I have also halved small red potatoes and microwaved them on high for 6 minutes and added them 1 hour before the soup is done. Any longer simmering in the soup and they tend to dissolve.